Open topic with navigation
Creating Group Types
Now that you’ve had some time to think about group types a little, you are ready to create a group type! Remember that you must have the Group Type Admin security access right to perform the following procedure.
To create a group type:
- Click Groups > Administration > Group Types. The Group Types list appears.
 Group Types
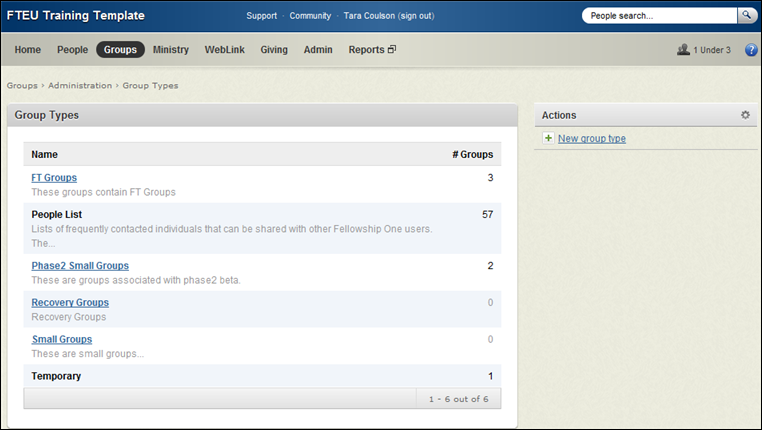
- Click New group type. The Create Group Type workflow appears.
 Create Group Type
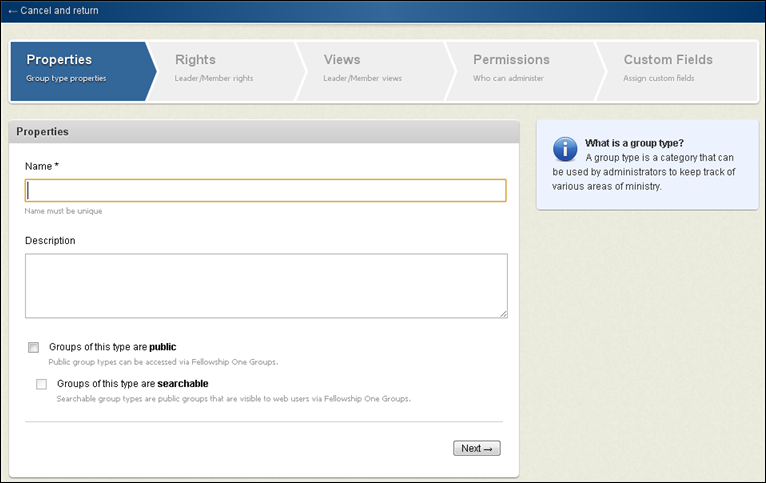
- Type a Name for the group type.
- Optionally, type a Description for this group type.
- Select from the following options:
- Click Next to display the Leader / Member rights.
- Select appropriate group leader and member permissions and what information they can view about the group and group members. Refer to Group Types Overview for information on these settings.
 Group Leader / Member Rights
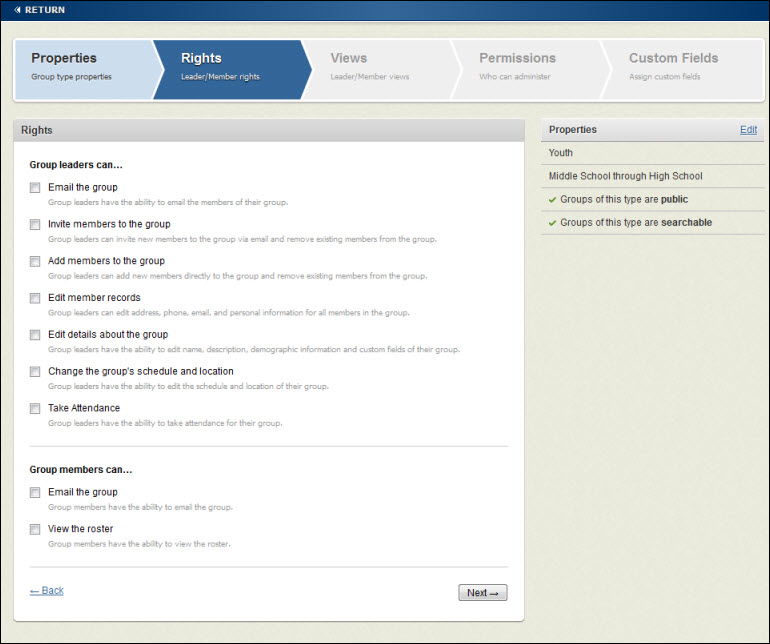
- Click Next to display the Leader / Member Views.
- Select the view type appropriate for leaders and members. Refer to Group Types Overview for permission definitions.
 Views
Views
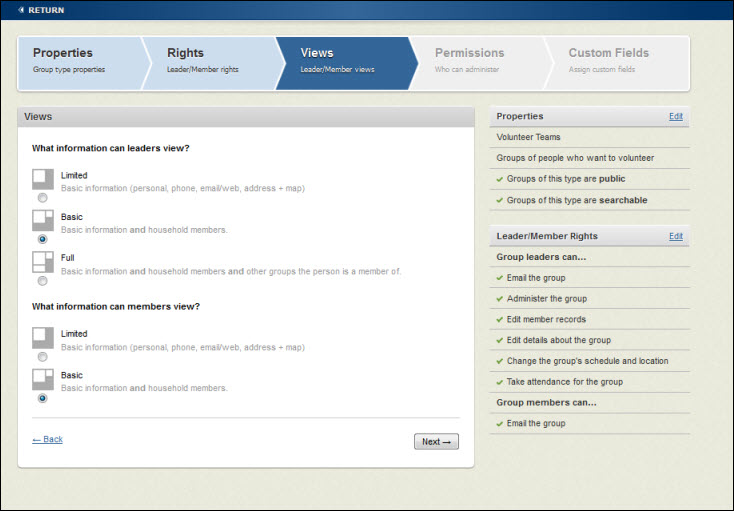
- Click Next to display permissions.
 Permissions
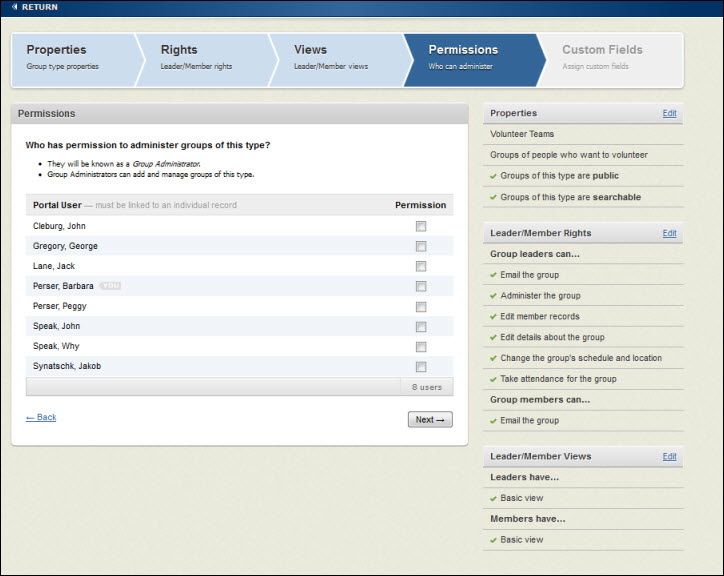
- Select the check box in the Permission column beside each Fellowship One user who should have permission to create and manage groups of this type.
- Click Next to display Custom Fields settings. At this point you may not have any custom fields configured. It's perfectly fine to skip this step until later. See Creating Custom Fields for details.
- Click Save Group Type. The group type summary appears where you can edit any of your settings at any time.


